|
March 2012 |
| Trigger Happy |
|
There are a number of commands and features
in our ramé-hart DROPimage Advanced software which are underused but
nonetheless useful especially if people knew about them. That's were I
come in: my job is to help point out these features. One of the ways
that we find most useful is through our video series. We now have over
two dozen videos showing all the major tasks - like calibrating,
measuring contact angle, leveling the stage, measuring surface and
interfacial tension, etc.
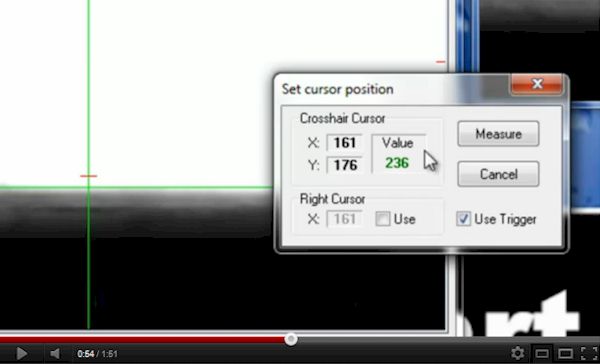
Today's new video is one that shows how the trigger command can be used to start measuring at the precise moment a drop is formed. Click the video below to play or go to: http://youtu.be/LKRLWnKzMl8 In the above video we are measuring the change in contact angle over time on a surface that exhibits some absorption. We use the Experiment Wizard to design an contact angle experiment which takes 20 measurements in succession every half second over a 10 second period. In the Options menu we are setting the Intensity to 200. This controls the change in contrast necessary to activate the trigger. 50 is the default. The other setting is Offset. We are using 10 which is the default. This controls the distance in pixels the trigger line is above the baseline. Use a negative value to put the trigger below the baseline (useful with surface tension measurements). If you change the trigger setting or move the baseline, then when you start the experiment, uncheck and recheck the Use Trigger box to update it's location on the screen. As soon as the drop passes the trigger line, the experiment begins. The first measurement in our experiment is invalid since the drop is still attached to the needle. Note that in addition to logging the change in contact angle (in this case from 80.00° to 26.78°), we can also see the change in drop volume. In this case, the drop lost exactly 1µL dropping from 1.29µL down to 0.29µL after 9.5 seconds. This is due primarily to absorption and secondarily to evaporation. By taking more measurements at smaller intervals, you can improve the resolution of the results. Our high speed camera, for example, can take over 200 measurements per second. By using the Trigger feature to start
any methods-based experiment in DROPimage, you ensure that the
experiment begins at the precise moment a drop is formed. This allows
for more repeatable studies and gives you more information about the
drop at the time of formation and during the first second as well as
over any length of time. |
| Eighth International Symposium on Contact Angle, Wettability and Adhesion |
| The above-mentioned symposium will be held June 13-15, 2012, in Quebec. Parties interested in registering to attend or submitting a paper should go to: http://tinyurl.com/6mul6ol |
|
Regards,
Carl Clegg |


