|
|
|
March 2016 |
| Homemade Hydrophobicity |
|
In the past we reviewed spray-on
commercial products like NeverWet and Hydrobead which are designed to
make surfaces hydrophobic and water-repellant.1 These
products work well on some surfaces but not so well on other surfaces.
NeverWet leaves a frosted haze on the treated surface and gives some
materials a chalky feel. These surface treatments have a limited
lifetime and retreatment is necessary to keep the surface
water-repellant. In the case of NeverWet, the 2-step kit covers only
about 12 square feet (1.1 square meter) and costs about $20. To treat a
small tent, it would cost more for the treatment than to purchase the
tent.
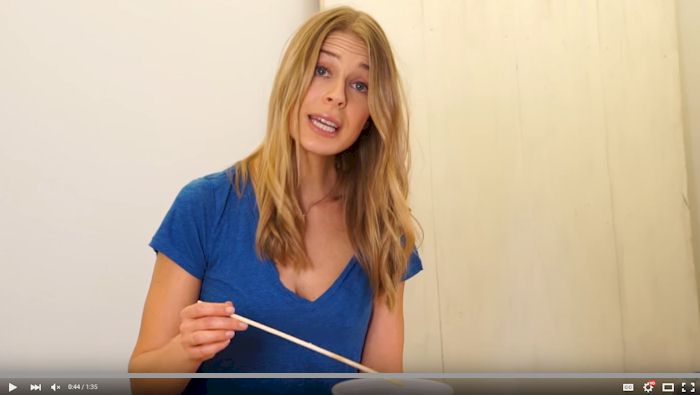
The cost and other shortcomings have led a number of DIYers (Do-It-Yourselfers) to whip up their own hydrophobic homebrews. Surprisingly, some of these concoctions are highly effective and much cheaper than the professional products. All you need is a go-to attitude and the ability to follow simple instructions. Today we will review four DIY waterproofing solutions: 1. This first method is quite simple. Mix up a quart of mineral spirits and a tube of clear silicone caulk and then brush the solution onto the material to be treated. Wait 24 hours and the solvent portion of the mixture will evaporate leaving a thin uniform clear coat of silicone rubber on your material. The video below walks through how to mix and apply the treatment.2 Note that silicone-based polymers have very low surface energy in air. This explains why they are used in a variety of commercial applications - from high-voltage outdoor insulation systems to automotive parts. What's more, a one-quart batch of this homebrew will cost about $12 and cover up to 100 square feet (9.2 square meters).
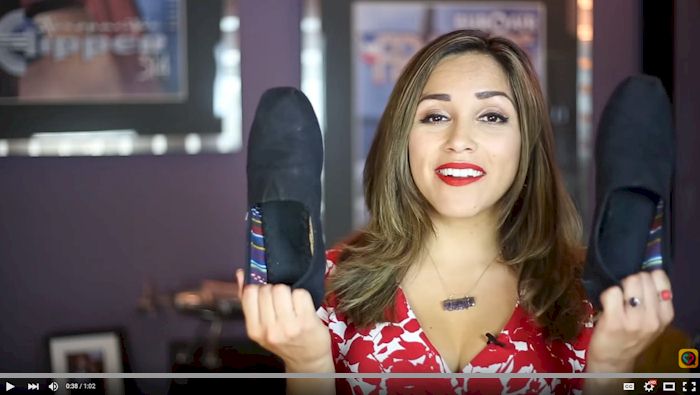
2. Another method involves a mix of two parts natural beeswax, one part boiled linseed oil and one part turpentine. Due to the highly flammable and toxic nature of the ingredients and the heating requirement, you'll want to make this solution outside and exercise extreme caution so you don't catch yourself on fire.3 The key to this mix are the fatty acids and long-chain alcohols found in beeswax which provide an excellent water vapor barrier and water repellency. 3. That last method relies on the low surface energy of beeswax. Elena (see video below) suggests a simpler and less dangerous way of getting wax on your shoes using a candle and blow dryer. Check out her life hack in the video below. Whether you are using beeswax or paraffin, if you're interested in learning more about the contact angle of these waxes on fabrics, check out this research done in Thailand.4
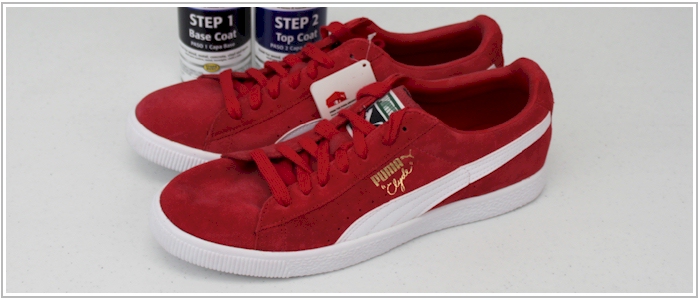
4. A guy named Dan has taken on NeverWet using aerosol clear coat spray and Arrid XX Dry antiperspirant deodorant spray. He concedes that NeverWet might be marginally better. However, according to his calculations, his method costs about one tenth as much. The routine is fairly straight forward: first, a quick coat using the clear coat spray which acts as a binder, then a coat of the antiperspirant spray which acts as an agent, followed up by a final coat of clear coat. He demos this method on a pair of shoes.5 The key to Dan's success is Cyclopentasiloxane, a key ingredient in NeverWet and not surprisingly also found in aerosol deodorant. Apparently, aerosol air freshener can also be used.6
So, what's the takeaway? Just as commercial applications are popping up that are designed to make shoes, camping gear, umbrellas, and many other household products superhydrophobic (or at least hydrophobic), inventive DIYers are also coming up with ingenious lower-cost alternatives. Some of these hacks are quite ingenious. How well they work and how cost effective they are may require some experimentation. If you try any of the above homebrews, or your own, let us know how they work for you. Send us a sample of your DIY coating on a sample surface and we'll measure the water contact angle for you - free! 1 NeverWet was reviewed in
our
August 2013 Newsletter and Hydrobead was reviewed in our
September 2013 Newsletter (second article). |
| DROPimage Standard |
|
We have (3) editions of DROPimage.
DROPimage Standard is our middleweight and is included with our popular
Model 200 and Model 400. Despite lacking surface tension tools,
DROPimage Standard is fully capable when it comes to measuring static
and dynamic contact angle. It supports the optional Automated Dispensing
System and includes a suite of surface energy tools for a variety of
applications. The video below reviews (5) tips for using DROPimage
Standard.
In addition to the Five Amazing Tips video, we have (2) additional new videos: 1. DROPimage Standard Contact Angle Tutorial 2. DROPimage Standard Calibration Lastly, we have a playlist that includes our new and existing DROPimage Standard videos. Thank you for watching. Our videos have had over 89k views. |
|
Regards,
Carl Clegg |